The following tools will make staying organized easier and more efficient.
Tools for Writers Created by Wily Writers
|
Writing Sprints Tracker & Journal
by E.S. Magill 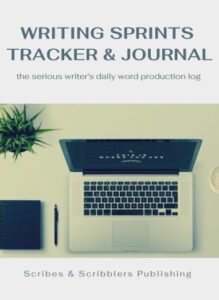 |
Spooky Writer’s Planner
by Loren Rhoads 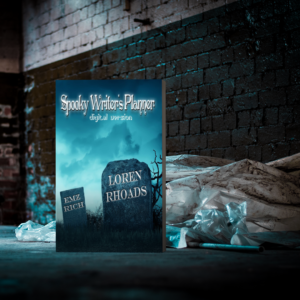 |

The following tools will make staying organized easier and more efficient.
|
Writing Sprints Tracker & Journal
by E.S. Magill |
Spooky Writer’s Planner
by Loren Rhoads |

Bookfunnel is a website that lets you create landing pages with download links for various uses.
You can use it to distribute free promotional stories, ARCs, and even a free copy of your work. They make it easy for both you and your readers. No more lost emails or other weirdness.
For example, use it to easily (and attractively):
You can view an example page for one of my freebie short stories. This one requires an email sign-up, but you can also set it up so it doesn’t require anything.
It does many other things as well, including:
Bookfunnel is extremely affordable relative to the great service it provides. At the time of this writing, the most basic account is only $20/year, which is less than $2/month. To get all the features I mention above, it’s $100/year (less than $9/month).
Let me know in the comments if you’d like me to do a walk-through video of Bookfunnel for you.
from Wily Writer Loren Rhoads
I am a planner junkie. For years, I kept searching for a system that would help me organize all the information I need, track all my submissions, make space for my to-do lists, and keep my calendar. I would hear one of my writer friends rave about a system they were excited to try or see an ad that promised to get me organized and snatch it up. I ended up with a cupboard full of half-used planners.

Loren Rhoads
Last year, when all my anchors were suddenly gone—no more writing in the cafe after dropping my kid off at school, no more writing in the car before I picked her up in the afternoon—I really struggled to focus and get anything done. What saved me was my planner stash. I took the planners apart and pulled out all my favorite charts: what were my goals for the year? What writing projects had I started and drifted away from? What markets did I want to pitch articles to? When were my favorite magazines open for story submissions?
sample page from Spooky Writer’s Planner, click to view larger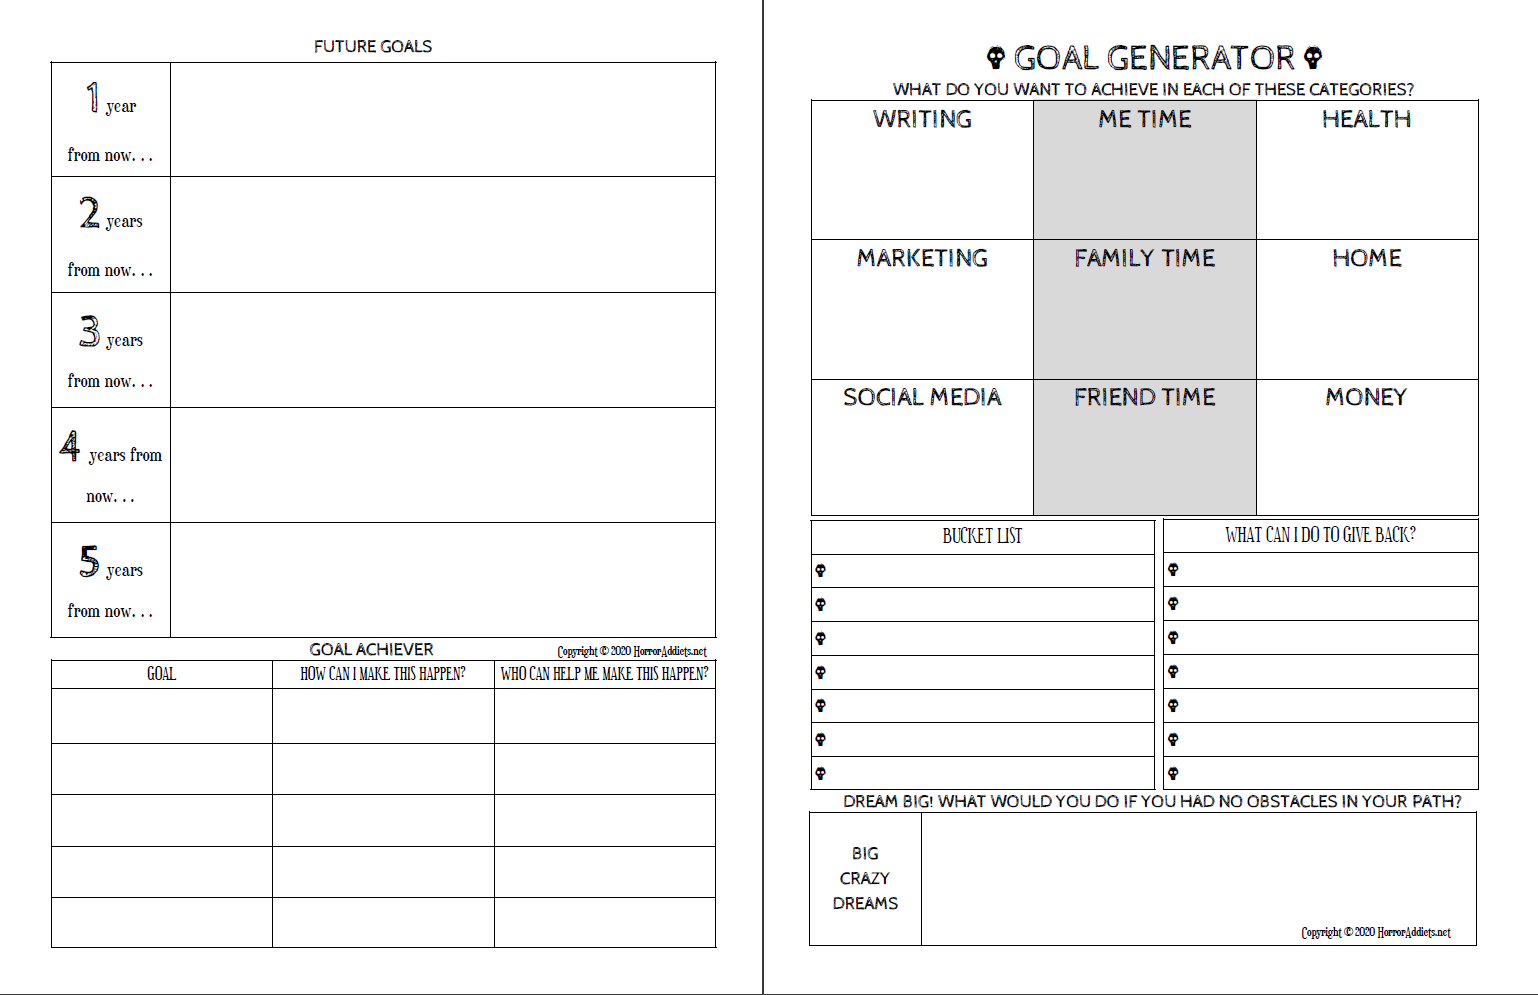
Armed with that information, I made a master to-do list. Everything went on it, no matter how big or small. Which social media did I enjoy using and what was my theory behind my presence there? What were my goals for my newsletter and how could I better connect with my readers there? Since I couldn’t attend the conventions I’d looked forward to, how else could I get my books into the hands of readers?
Once I finally had EVERYTHING noted down, I could see that it was clearly too much for one person to accomplish RIGHT NOW. I used my planner sheets to pull out the little things that I could finish easily. Once I crossed those off my list, I got a jolt of pride that carried me forward to tackle bigger projects.
I made writing dates with friends over Zoom. A writer I knew set up a Tuesday morning chat for her writer friends. I joined Shut Up & Write sessions. I organized Happy Hours and went to writer’s group meetings online. Slowly, my weeks took on some structure. I needed a calendar to keep track of when everything was happening.
I’d published a novel in February (then saw all the conventions I’d planned to attend get postponed or canceled), so with my planner’s help, I managed to put together a blog tour and list of reviewers. After I attended the Bram Stoker Awards online, I was inspired to assemble a collection of my short stories, using what I’d learned from the first blog tour to promote it. Cross that goal off my list!
sample clips from Spooky Writer’s Planner, click to view larger
Inspired by my planner, I also did some major reorganization projects in my office, emptying all my file drawers and consolidating my research. I (finally!) assembled a binder of all the contracts I’d signed over my writing career. I made another binder of unfinished stories, so I could see the work ahead of me.
Having projects waiting for my attention made it much easier to deal with the discovery that the nonfiction book I’d been researching didn’t match the book the publisher wanted, one I was unable to write because of a previous contractual obligation. In another time, I would have been spun by the rejection. I would have been lost for months. Instead, because I’d been doing all this work on goals, I quickly shifted gears and began work on what became the third book I published last year. It’s no exaggeration to say that my cobbled-together planner was a lifesaver.
The upshot of this is: there are many planners for writers out there. Some focus on logging your daily word count. Others track the business aspects of being a writer: your income and expenses. Still others concentrate on calculating your available writing time and how to make best use of it. Some combine inspiration with goal-setting. Finding the right planner for yourself may take a couple of tries, but if you find a planner that supports the kind of writer you are and the work you want to do, it can change your life. It is definitely worth the effort.
Check out the Spooky Writer’s Planner that Loren designed with the help of artist EMZ Rich, available through the Wily Writers Gift Shop. Spooky Writer’s Planner

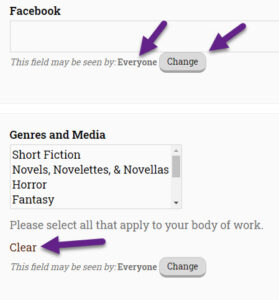
It’s not immediately obvious how to add more information to your Wily member profile, so I’ve put together some instructions.
Updating your profile allows other members to see who you are and what you’ve done. We can all get to know one another.
To find the extended information on your profile:

Stuck or just want to use Google Sheets or Excel with greater effectiveness? Browse these tips.
Practice these six hacks at night, and your mornings will go much more smoothly. Morning You will be grateful.
I (Angel McCoy) personally use these products and find they work for me. Let us know in the comments if you’ve had experience with them (what’d you think?) or a similar product that you’d recommend.

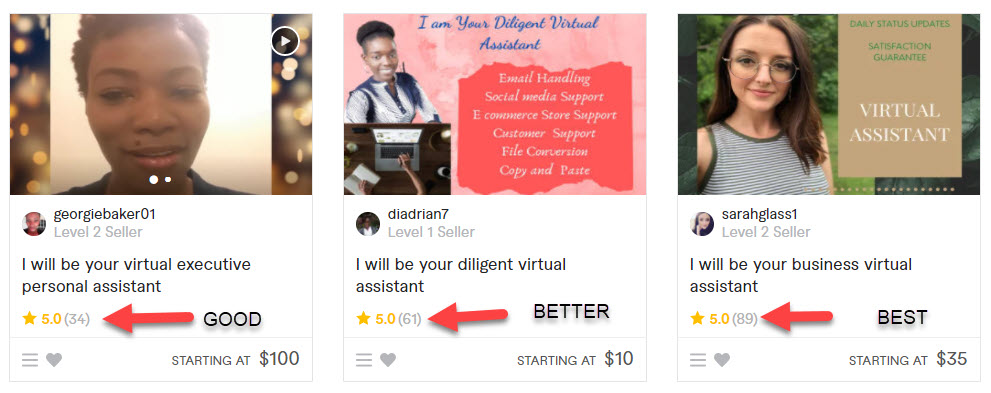
There’s never enough time in a day to do all the things we want to do. We can get help for cheap, however. Fiverr.com is a website where freelancers offer to do odd jobs for a one-time fee.
Be somewhat discriminating when you choose your freelancer.


Many email providers let you create and save email templates for those emails you send over and over again.
To set up templates in Gmail, you have to first turn them on, then create and save one. Then, you can use it as often as you need.
Microsoft also does an excellent job of explaining how to create an Outlook email template and how to use an Outlook email template.

Images are your #1 resource for promoting your work. Here’s a little introductory tutorial to images.
Digital images are nothing more than a collection of colored pixels (tiny squares) all arranged to create the illusion of an image. This is why we measure images in pixels rather than inches. An image that is 800 x 1600 is 800 pixels wide and 1600 pixels tall. A pixel is a fairly standard unit of measure — more or less.
The image file contains all the information about where specific pixels go and how big they should be. It’s quite magical.
There are three primary types of image files that you need to know about. Each type has its own special properties. You can choose the type for your image in most graphic programs just by selecting a different file extension from the drop-down when you “Save As”. The program will do the translation for you.
At the most basic, you won’t ever have to do more than resize your images.